Most AI influencer tutorials skip the hard part—connecting your AI assistant to your actual Google account securely. Chase H walks through exactly how to do this right.
Hosting Options
Three ways exist to run OpenClaw: a Mac Mini ($400-600), a cloud VPS ($7-10/month), or directly on your personal machine. The cloud option strikes the best balance—it's affordable, accessible regardless of your operating system, and keeps your personal computer free. Hostinger earns recommendation for its one-click install capability and providing root access, which matters when configuring Google credentials.
For the demo, use Ubuntu 24.04 LTS as your operating system. Skip any automatic deployment option during setup—you want manual control over root access so you can later install Gogg, the CLI tool that bridges OpenClaw and Google.
Installing OpenClaw
After SSH-ing into your VPS with the root password you set during setup, visit OpenClaw.ai and grab the Linux/MacOS command from their Quick Start guide. The installer will ask about onboarding mode—choose Quick Start. When prompted for model provider, consider cost carefully: Anthropic runs expensive because every token costs money. OpenAI's mini model works well and can be changed later.
For messaging channels, Telegram proves easiest to configure—free and straightforward. To get your bot token, open Telegram and start a conversation with BotFather. Name your bot, copy the token it provides, and paste when asked during installation. Skills configuration can wait until after dependencies install; enable hooks as you prefer.
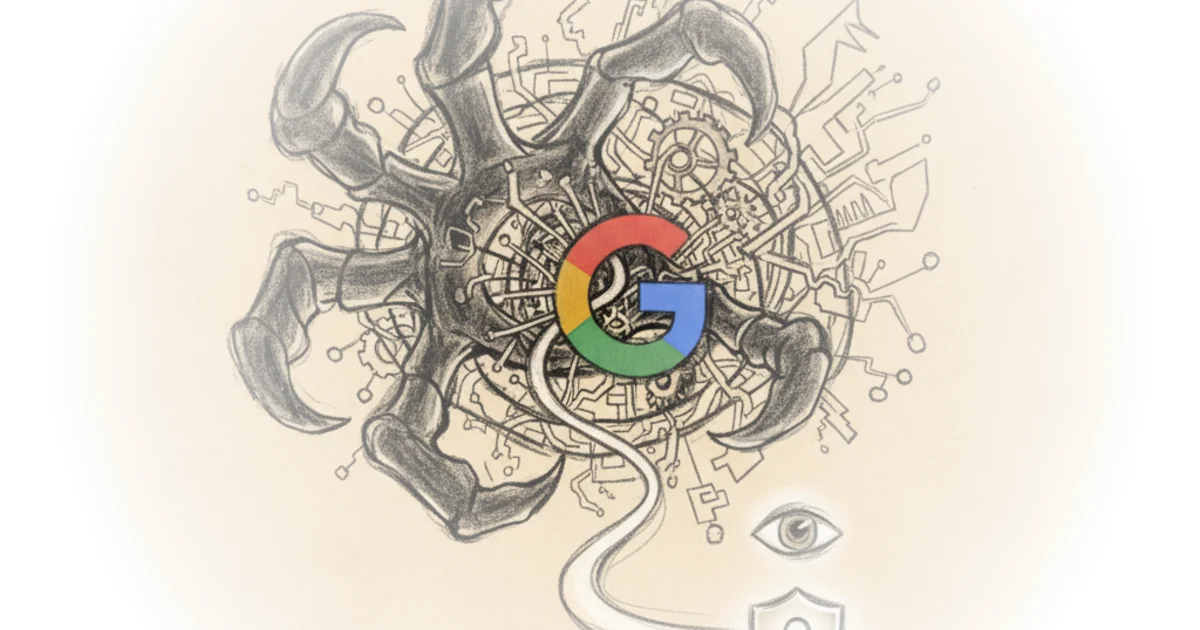
Connecting Google
The multi-step process involves creating a dedicated email for your agent in Gmail (introducing safety through separation), enabling required APIs in Google Cloud Console, and authenticating with OAuth.
Create an email like "agent@yourproject.com" so OpenClaw doesn't access your primary inbox. This follows the principle of least privilege—start small, expand only when needed.
Switch to your agent's account in Google Cloud Console before creating a new project. Enable Gmail API, Google Drive API, and Google Calendar API at minimum. Then configure OAuth consent screen: set audience as external, publish app after confirming. Finally, create OAuth credentials for desktop app and download the JSON file—save client ID and client secret securely since they won't display again.
Back in your VPS terminal, copy that downloaded JSON file to your server using a path command, then install Gogg CLI to establish communication between OpenClaw and Google.
Testing
Message your bot on Telegram to confirm everything works. The value proposition here is simple: instead of building complex automation modules manually, you just speak to OpenClaw and it handles the integration work.
Critics might note that giving an AI agent access to your email, calendar, and drive introduces real risks—even with least-privilege principles, a compromised agent could cause significant damage. The security trade-off requires careful consideration before proceeding.
"We need to do it in a secure fashion that makes sure if anything goes wrong, we didn't just give the keys to the entire kingdom to a bad actor."
Bottom Line
Chase H delivers what most AI tutorials skip: the actual Google integration process with proper security considerations. His strongest argument is that connecting these tools through conversation rather than manual configuration represents genuine progress in how we interact with AI assistants. The vulnerability lies in the inherent tension between convenience and security—each API access expands potential attack surface, and readers should proceed with eyes wide open about what's at stake.